Before you begin, you must complete the steps for your pool kit assembly up to the liner installation step.
1. Install some of the top rails to help with stability of the pool wall, especially on a windy day.
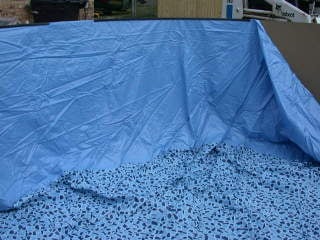
2. For flat bottom pools and pools up to 5' deep in the middle, measure 6" to 12" of liner to overlap the top of the pool wall. For pools that are 6' deep on one side, the liner will overlap more on the shallow end than on the deep end.
3. Use the plastic coping strips to hold the overlap liner in place.
4. Install the pool's top rails as per the manufacturer's instructions.
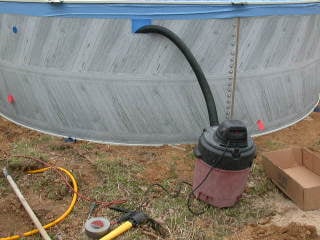
5. Insert a shop-vac hose 2' downwards into the skimmer and switch it on. The air will begin being sucked out between the liner and pool wall after it runs for a few minutes.
6. Be sure to watch the liner during step 5. If the liner is too loose, you will have wrinkles in the liner. If the liner is too tight, there will be too much space between the liner and pool wall. If needed you can turn off the shop-vac and make adjustments to the liner by removing the top rail and increasing or decreasing the liner overlap as needed.
7. Begin filling the pool with water with the shop-vac still running. Do not turn off the shop-vac until the pool floor is covered with water.
*DO NOT ADD WATER UNTIL THE LINER FITS PROPERLY.*
Didn't find the answer you were looking for? You can always contact us at support@royalswimmingpools.com or choose the category below to see our most frequently asked questions for that topic: